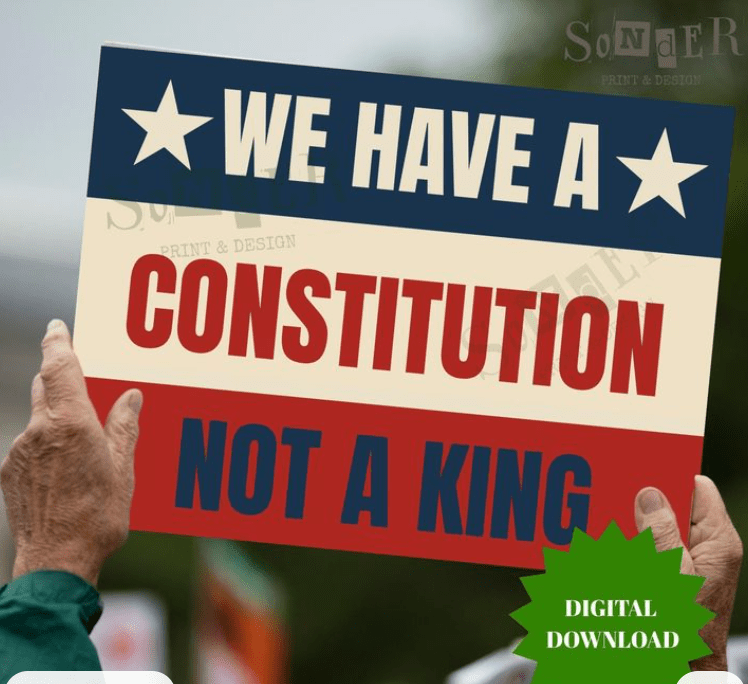
Have you ever wondered how some of those amazing protest signs are made? Here’s your answer! Below are the instructions for making big, beautiful signs, like this one from Etsy:
Software
PC or Mac
All the software is free and online. You don’t have to buy or install anything.
- To make the design, use Canva: – https://www.canva.com/
- To make the poster using the design, use Gizmoa – https://gizmoa.com/poster-maker/
Materials
- Poster or board:
- 22’ x 28” poster paper (white is best); or
- 20” x 30” foam board ; or
- a piece of strong corrugated cardboard (for support)
- glue stick (Elmers glue sticks are fine)
- scissors for fine-tuning
- Printer (to make a large image, you will be printing the image in 8 x 11 sections – you do not need a big fancy printer)
Prep
- Start by asking yourself, “what do I want to say?”
- Bigger is better. Cars are mostly moving targets, so you only have a couple of seconds to get your message across.
- Less is more. Short messages come across best to the viewer.
- A picture paints a thousand words” principle.
- Get inspired (and angry) by listening to Fox News, and using language that reflects their voice.
- Think about what orientation best fits your message, i.e., horizontal or vertical.
- Download photos and art:
- Create a media folder in which to store your files. Put this folder in an accessible place (desktop).
- Photos and art you want to use. Find the best quality images that represent your message. PNG files have the best quality for this purpose.
- You can convert files that don’t have a .png extension with this online app: https://cloudconvert.com/jpg-to-png
- You can convert lots of different file types to PNG.
Procedure
Create the design
- Click on the provided Canvas link. Follow the screen commands to get registered.
- Click on: Start Designing, then Create (Upper left).
- Where it says: Create a Design, scroll down to: Custom size and click on it.
- On the top of page where it says Custom size, change Units from pixels (px) to inches.
- Define what size poster you want to make by width and height in inches.
Standard poster paper is 22” X 28”. Obviously, a bigger width will create a horizontal image and a bigger height will create a vertical image. - Click Create new design.
There is a window of various templates and styles, but we won’t be using them for this project. - Upload your media folder or single image files by clicking Uploads on the left side.
- From your media folder, click on an image.
Your image will appear in the white rectangle to the right. - Click on the image to move it where you want to place it.
Red lines will pop up which allows you to center your image. As you move the image closer to the outer purple border, a red-outlined rectangle will appear and disappear. This is your poster border. All images and messages (text) should be placed within the border of this space (for now). - Adjust the size of the image by clicking on it and dragging the sides of the little bar in the center of each side or the little circles at each corner.
You can also rotate the image by clicking on the little circle with the two curved arrows inside and dragging to the right or left. - Repeat this process with addition images.
Add your message (text)
- On the left side of the screen, click on TEXT, and then click on purple, Add a text box.
The text box will appear in the poster area. - Type in your message, and click on the encircled cross below to move it where you want to place it.
To increase the width of the box, click on it and pull on the right or left.
To increase the overall size of the box and font size, go to the top of the page where it says: Canva Sans. This is the default font choice. You can change fonts here.
To the right of this is the font size. Click on the plus or minus symbols to increase or decrease the size of your text area.
Warning: Make sure all your images and words are within the red rectangular area . If not, your final image will be bigger than your poster paper. - Fine tune your poster by changing the fonts of your message.
- When you’ve completed your design, go to the top left side and click on: File, then click on: Download to download your image. Make sure you save this image in your media folder.
Create the Poster
- Click on this link: Poster Making Software – Gizmoa – https://gizmoa.com/poster-maker/
- Drag or drop your image into the dashed box where it says: Upload an image to start creating your poster!
Your image will appear with a ruler measuring both height and width of your image.
The image can be moved to optimize its position by clicking on it.
To the right of the image are various things you can change to affect the output of your image. The rest, you can read about below your image. It will also instruct you how to assemble your poster.
Note about Printed Dimensions: The average person uses US Letter paper. This is normal printing paper. This project has a vertical or portrait orientation. The other choice is horizontal or landscape orientation. - Important: Change the width to 22 inches and the height to 28 inches.
This will give you a 3 by 3 or nine paper output of your image, which reflects the size of the poster paper. - After you’ve set the dimensions, click on Open For Printing if you’re ready to print. Either way, click on Save as PDF to save your poster, which you can print anytime. It opens in Acrobat.
- Lay the nine pages out and puzzle your poster together.
The pages will come out of the printer in order. Borders on the pages must be trimmed. A good paper trimmer is best to get accurate cuts. Again, refer to the instructions. - After the pages are trimmed, some people like to scotch tape it together, then glue the whole image onto the poster paper.
- Use a glue stick to tack your image down of the poster paper.
HAPPY POSTER MAKING!

Leave a comment